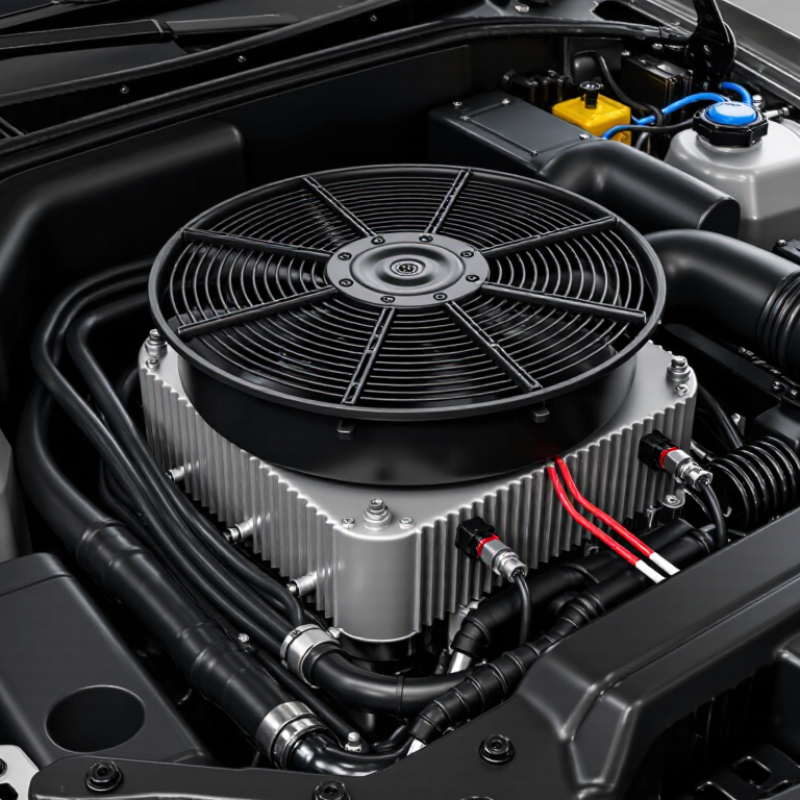
| Vehicle fitment | Exact vehicle application, including model year, engine, body configuration, and any production-date or equipment differences. | Cross-check the vehicle identification number (VIN) or OEM part number against a reliable parts catalog or service information. | Do not rely on vehicle model and year alone when multiple cooling-system configurations exist. |
| Fan and shroud dimensions | Overall assembly shape, mounting-point locations, fan diameter, depth, and clearance around nearby components. | Compare the replacement with the original assembly and check available dimensions in the vehicle-specific parts information. | A correct fit should allow secure mounting and prevent contact with the condenser, radiator, hoses, or bodywork. |
| Connector and controls | Connector shape, pin count, terminal arrangement, wiring polarity, and whether the assembly uses a control module or multiple speeds. | Compare connector details with the vehicle wiring diagram and original part; inspect terminals for corrosion or damage. | A connector that physically plugs in is not, by itself, proof that the electrical configuration is correct. |
| Specified voltage | The fan’s rated operating voltage and the test voltage specified for the vehicle or component. | Use vehicle service information and the fan label or technical data. Measure voltage at the fan connector under the prescribed test conditions. | Many passenger cars use nominal 12-volt electrical systems, but test voltage and control strategy vary. Follow the vehicle specification rather than assuming a universal value. |
| Airflow direction | Air should move through the condenser in the direction designed for the vehicle’s fan location and airflow layout. | Check the fan’s airflow arrow or manufacturer instructions. With the assembly safely powered, confirm direction using a light strip of paper held clear of moving parts. | Do not judge airflow direction from blade appearance alone; fan designs differ. |
| Airflow performance | Airflow through the condenser at the specified voltage and operating condition—not just free-air flow away from the vehicle. | Use the vehicle maker’s test procedure and comparison data where available. Confirm that the shroud seals and directs air across the core. | Avoid comparing airflow figures measured under different test conditions; no single airflow value applies to every vehicle. |
| Current draw and wiring | Fan current draw, fuse rating, relay or controller capacity, and condition of the power and ground circuits. | Compare measured current with service specifications and check for excessive voltage drop using the correct procedure and suitable test equipment. | Do not install a fan with an unsuitable electrical load; it can overheat wiring or damage circuit components. |
| Final operation check | Correct activation, smooth rotation, secure mounting, and absence of rubbing, unusual noise, or warning indications. | Follow the vehicle’s diagnostic procedure for commanding the fan on, then inspect operation with hands and tools kept clear of moving parts. | If the fan does not run correctly, diagnose the fuse, relay, control module, wiring, sensor inputs, and fan before replacing additional parts. |