| Manual-adjust replacement | Vehicles originally equipped with a manually adjusted mirror, or buyers seeking a simpler replacement. | Confirm model year, body style, left or right side, mounting points, and whether the mirror is manual-adjust. | Compare the mounting base and fastener locations with the original part. Protect the door finish while removing the interior trim. | Usually has fewer electrical connections, but cannot be adjusted from inside the vehicle. |
| Power-adjust replacement | Vehicles with an electrically adjustable mirror and a matching door wiring harness. | Check connector shape, pin count, adjustment functions, side, and vehicle-specific fitment information. | Disconnect the battery when required by the service instructions. Route and reconnect the wiring without pinching it behind the trim. | Offers in-cabin adjustment, but connector or wiring mismatches can prevent operation. |
| Heated replacement | Vehicles originally equipped with mirror heating and the necessary wiring and controls. | Verify that the original mirror has a heating function and that the replacement includes compatible heater connections. | Connect heater leads only according to the vehicle’s wiring information; do not assume an unused connector provides power. | Can help clear moisture or light frost, but may not work if the vehicle lacks the required circuit or control. |
| Mirror with integrated turn signal | Vehicles whose original side mirror includes a turn-signal lamp. | Check lamp location, connector, lighting function, side, and whether the vehicle’s wiring supports the feature. | Test the signal and other mirror functions before reinstalling the door trim. | Adds a visible signal feature, but an incompatible lamp or connector may require additional parts or wiring. |
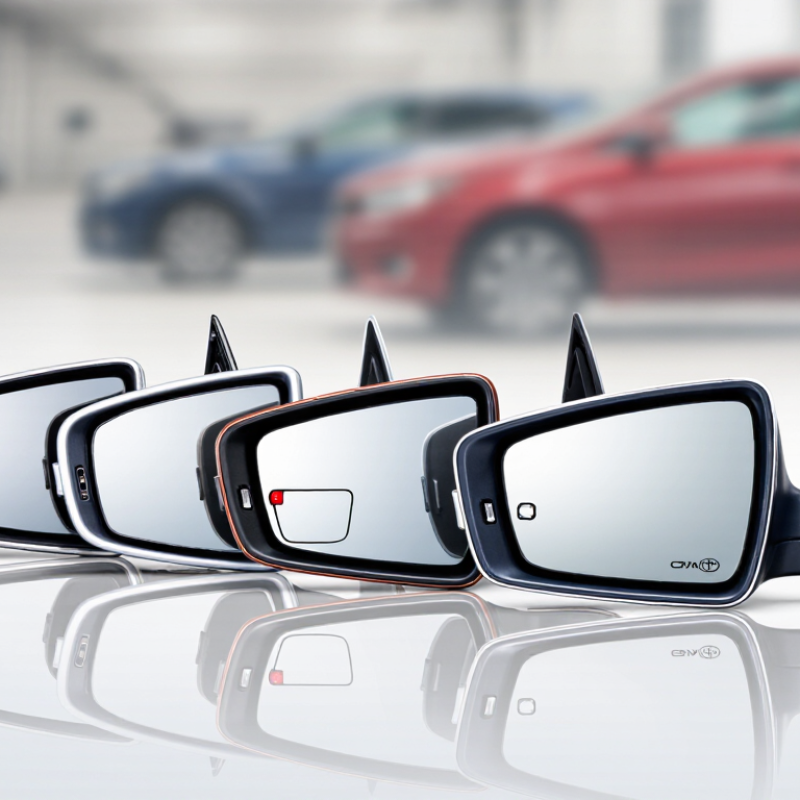
| Mirror with blind-spot indicator | Only vehicles designed with a compatible blind-spot monitoring system and mirror indicator. | Confirm the vehicle’s original equipment and system configuration. A mirror alone does not add blind-spot detection. | Follow vehicle-specific procedures and check system operation after installation; calibration or diagnostics may be needed. | Preserves an existing indicator when correctly matched, but is not a substitute for the vehicle’s sensors and system. |
| Complete mirror assembly | Buyers replacing a damaged housing, glass, mounting base, or several parts together. | Compare the complete assembly’s mounting pattern, connector, functions, finish, and side with the original. | Typically requires access behind the door trim. Support the assembly while removing its fasteners to avoid dropping it. | Replaces multiple components at once, but may cost more than replacing glass or a cover alone. |
| Replacement glass or glass-and-plate unit | Cases where the housing and mounting base are intact and only the mirror glass is damaged. | Check glass shape, backing-plate attachment, side, curvature, and whether heating or other features are present. | Wear eye protection and handle broken glass carefully. Use the specified attachment method and avoid forcing the glass onto its mount. | Can avoid replacing the entire assembly, but will not repair a cracked housing, loose base, or failed adjustment mechanism. |