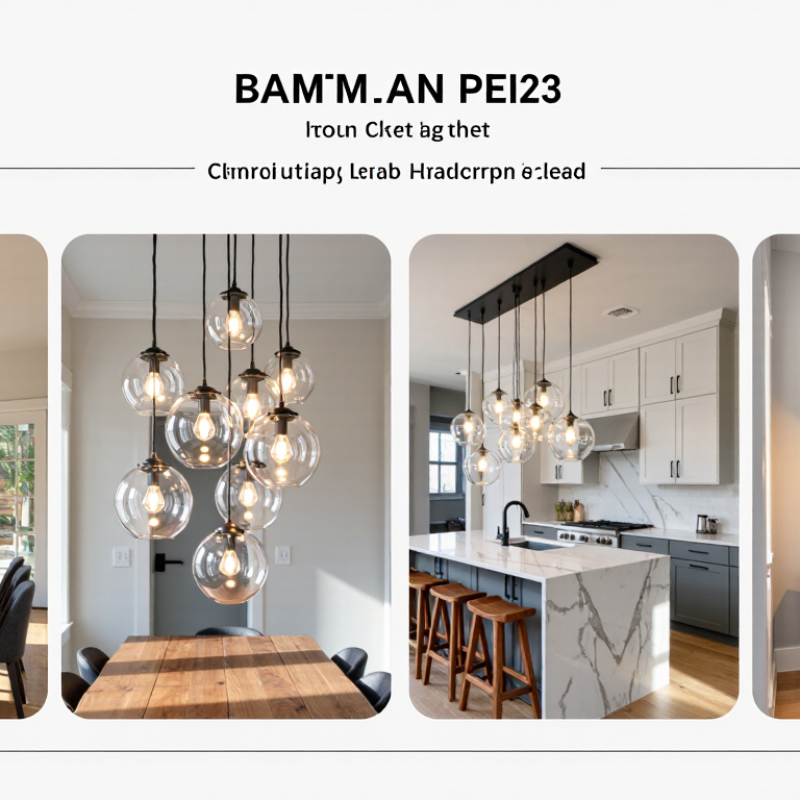
| Dining table | Table width and length; ceiling height | Choose a fixture about one-half to two-thirds of the table width. For a long table, consider a linear arrangement or multiple pendants. | Start with the lowest part of the fixture about 30–36 in (76–91 cm) above the tabletop, then adjust for sightlines and fixture size. | Use dimmable, warm-white light around 2700–3000 K. Select output based on the room’s other lighting and the bulb or fixture specifications. | Keep the fixture centered over the table, not necessarily the room. Confirm that doors, tall centerpieces, and seated sightlines are not obstructed. |
| Kitchen island | Island length and width; ceiling height; number of work areas | Use one larger pendant or a balanced group of smaller pendants. Leave enough space between fixtures for an even visual rhythm. | A common starting point is 30–36 in (76–91 cm) above the counter. Raise or reposition fixtures if they block views across the kitchen. | Choose a comfortable task-light level and a consistent color temperature with nearby kitchen lighting. Dimming helps accommodate different activities. | Check the manufacturer’s recommended spacing and canopy dimensions. Avoid placing pendants where they interfere with cabinet doors or ventilation. |
| Living room or reading area | Seating layout; ceiling height; nearby reading or activity zones | Scale the fixture to the seating area rather than the entire room. A compact bubble pendant can work well as an accent. | Keep the fixture clear of walking paths and tall furniture. In a circulation area, aim for at least 7 ft (2.13 m) of clearance from floor to the fixture’s lowest point where feasible. | Use the pendant as ambient or decorative light; add task lamps where focused reading light is needed. Consider a dimmer for flexibility. | Check that the pendant does not create glare from a seated position and that its light complements existing lamps. |
| Entryway or foyer | Room width and length; ceiling height; door swing and traffic path | Choose a size that is visible from the entry without overwhelming the space. A larger fixture may suit an open foyer with a high ceiling. | Keep the fixture out of the door swing and maintain safe head clearance along the main route. For tall foyers, account for the full drop length. | Use warm-white light for a welcoming appearance. Confirm that the lamp or integrated LED provides enough light for the entry’s size and finish colors. | Verify ceiling-box location, mounting support, and access for cleaning or replacing light sources. |
| Bedroom | Bed position; ceiling height; bedside activities | Scale the fixture to the bed and room. For bedside pendants, check that each fixture is proportionate to the nightstand and does not crowd the bed. | Position pendants to avoid head contact when sitting up or getting in and out of bed. Confirm the intended drop before installation. | Warm-white light around 2700 K is often suitable for a relaxing atmosphere. Use a dimmer or separate bedside task lighting where needed. | Check switch access from the bed, glare from the pillow position, and whether the fixture’s light is suitable for reading. |
| Small room or low ceiling | Floor-to-ceiling height; furniture clearance; visual scale | Favor a compact, shallow fixture or a shorter drop. Compare the fixture’s full diameter and height with the available space. | Keep the lowest point above the required walking clearance; consider a flush or semi-flush alternative if a pendant would hang too low. | Look for diffuse light that reduces harsh shadows. Supplement with wall or table lighting if one ceiling fixture cannot light the whole room evenly. | Check the complete assembled dimensions, including globes, rods, and the ceiling canopy—not just the advertised shade diameter. |