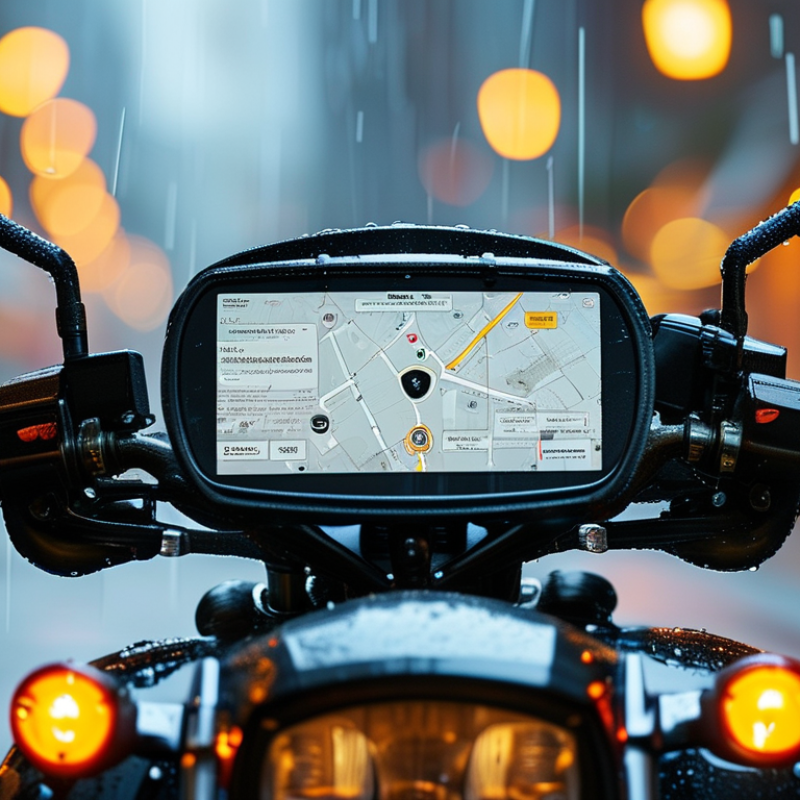
| 1 | Display Size | Choose approximately 5–7 inches for most motorcycles. | A larger screen improves map readability, while an overly large unit can block instruments or controls. | Measure the available handlebar or dashboard area and confirm that the screen does not obstruct the speedometer or switchgear. |
| 2 | Screen Brightness | Look for a display rated at roughly 800–1,000 nits or higher for strong daylight visibility. | Motorcycle screens are exposed to direct sunlight, which can wash out low-brightness displays. | Check the published brightness rating and view the screen outdoors from different angles, preferably with sunglasses. |
| 3 | Weather Resistance | Prefer a clearly stated IP65 rating or better for the complete installed unit. | The rating indicates protection against dust and water jets, although it does not guarantee protection from every situation. | Verify that the rating applies to the screen, connectors, buttons, and cable entry points—not only to a removable cover. |
| 4 | Touchscreen Operation | Select a capacitive touchscreen that supports reliable operation with wet fingers or motorcycle gloves. | Gloves, rain, and vibration can make small or insensitive touch controls difficult to use safely. | Test common actions such as zooming, tapping, and swiping while wearing the gloves used for riding. |
| 5 | Phone Compatibility | Confirm support for the current versions of Apple CarPlay, Android Auto, or both, according to your phone. | Compatibility affects navigation, calls, messages, music, and voice-control functions. | Check the operating-system requirements and test both wired and wireless connection claims with your phone model. |
| 6 | Audio Connectivity | Look for Bluetooth support and, when needed, a wired audio output or connection to a helmet intercom. | Clear audio routing is essential for navigation prompts, calls, and music while riding. | Pair the screen with the helmet headset and verify automatic reconnection after turning the motorcycle off and on. |
| 7 | Mounting Stability | Use a vibration-resistant mount with adjustable viewing angles and hardware suited to the handlebar diameter. | Stable mounting reduces screen shake, improves readability, and helps protect connectors from repeated stress. | Check the supplied clamp range, locking mechanism, fastener quality, and clearance during full steering movement. |
| 8 | Power Requirements | Confirm compatibility with the motorcycle's 12-volt electrical system and use an appropriately fused connection. | Correct wiring helps prevent intermittent shutdowns, battery drain, and damage caused by unsuitable connections. | Review the input-voltage range, standby behavior, fuse guidance, and whether ignition-switched power is supported. |
| 9 | Temperature and Glare Performance | Choose a unit with a stated operating-temperature range and an anti-glare or optically bonded display when available. | Outdoor heat, cold, and reflections can affect responsiveness and visibility. | Compare the manufacturer's temperature specification with your riding environment and inspect the screen under reflected sunlight. |
| 10 | Safety and Convenience Features | Prioritize physical controls, voice access, automatic brightness, quick pairing, and a simple startup process. | Fewer manual steps reduce distraction and make the system easier to operate on the road. | Test startup time, voice commands, brightness adjustment, and access to essential functions without removing your gloves. |